
How to Prep Your Products for Your Product Photography Session
Product photography is an essential part of your brand’s visual identity. Whether you’re showcasing new products, best sellers, or variations of your offerings, preparation is key to ensuring that your session goes smoothly and the final images reflect the quality of your brand. Here’s a guide on how to prepare for your next product photography session to make the process efficient and to get the best results with examples at the end from one client’s subscription sessions.
1. Decide How Many Products You Need Photographed
Before scheduling your product photography session, it’s important to make a list of all the products you want photographed. This may seem obvious, but there are a few considerations that will affect how many products you need to include:
Product Variations: If you have products in different colors, sizes, or packaging, decide if each variation needs its own photo. For example, if you’re selling a product that comes in five colors, do you need separate images for each, or can you group them in one shot?
Best Sellers: Focus on your most popular products. These are often the items that will get the most attention from your audience, so be sure they are well-represented in your photography.
New Launches: If you’re introducing new products, prioritize those to ensure you have high-quality images ready for marketing materials.
Lifestyle Shots: Think about whether you want just product shots or if you’ll also need lifestyle images, showing your products in use or in context.
By knowing how many products you need photographed and in what variations, you can set realistic expectations for the session’s timeline and pricing.
2. Determine How Many Photos You Need
Most product photography sessions are priced by the final number of photos, so it’s important to have a clear idea of how many images you’ll need. This will help you avoid unnecessary expenses and ensure that you get the right variety of shots.
Consider these factors:
Multiple Angles: For each product, think about the angles you need to capture. Do you need a front, back, and side view, or will one angle suffice? If the product has intricate details, consider close-ups to highlight those features.
Styled Shots: Do you want to show the product in context, styled with complementary items or placed in a specific setting? These styled or lifestyle shots usually require more time and careful planning.
Social Media vs. Website: Think about the platform where the images will be used. For social media, you might want more casual, creative shots, while your website may require high-quality, clear, professional product shots with a neutral background.
Knowing how many images you need and their intended purpose will help streamline the session and keep things on track.
3. Gather Inspiration
Gathering inspiration is one of the most important steps in preparing for a product photography session. The more direction you can give your photographer, the better the results will be. Here’s how to gather effective inspiration:
Look at Competitors: Research how other brands in your industry are photographing their products. Identify what you like about their images— whether it’s the lighting, composition, or style— and take note of those elements.
Create a Mood Board: Use platforms like Pinterest or Canva to create a mood board with photos that represent the style and vibe you’re going for. Include different shot types, color palettes, backgrounds, and props that align with your brand.
Share Reference Images: If there are specific photographers or campaigns whose work you admire, share those with your photographer. This helps them understand your vision and ensures everyone is on the same page.
The more inspiration you provide, the easier it will be for your photographer to execute the session in a way that aligns with your brand’s aesthetic.
4. Clarify Image Usage and Expectations
Before the shoot, have a clear understanding of how the images will be used and set expectations accordingly. This will help avoid any misunderstandings about licensing, delivery formats, and deadlines. Key points to discuss include:
Intended Usage: Are the photos for your website, social media, email campaigns, print ads, or product packaging? Knowing where the images will be used will determine the final output specifications, such as resolution and crop size.
Delivery Timeline: When do you need the photos delivered? Ensure you have a clear agreement on the turnaround time for both the photos and any potential edits or retouching. For example, many photographers will have a 2-4 week turnaround for product photography, but this can vary depending on the workload and complexity of the session.
Post-Processing Needs: Do you need the photos to be retouched or edited in any specific way, such as background removal, color correction, or adding shadows? Be clear about your expectations so the photographer can provide the best results.
Having clear communication about these elements ensures that the session goes smoothly and that you’re satisfied with the final product.
5. Prepare Your Products for the Shoot
To get the best photos, your products should be clean, polished, and ready for their close-up. Here are some tips for product prep:
Clean and Inspect: Make sure your products are free from dust, fingerprints, and any imperfections that could be visible in the photos. This is especially important for items like jewelry, beauty products, and electronics.
Bring Multiple Samples: If you have multiple variations or models of a product, bring extra samples in case something gets damaged or doesn’t look as good on camera.
Packaging: If the packaging is part of the product experience, make sure it looks neat and presentable. If you’re showcasing products in their packaging, ensure it’s photographed in a way that highlights the quality and design.
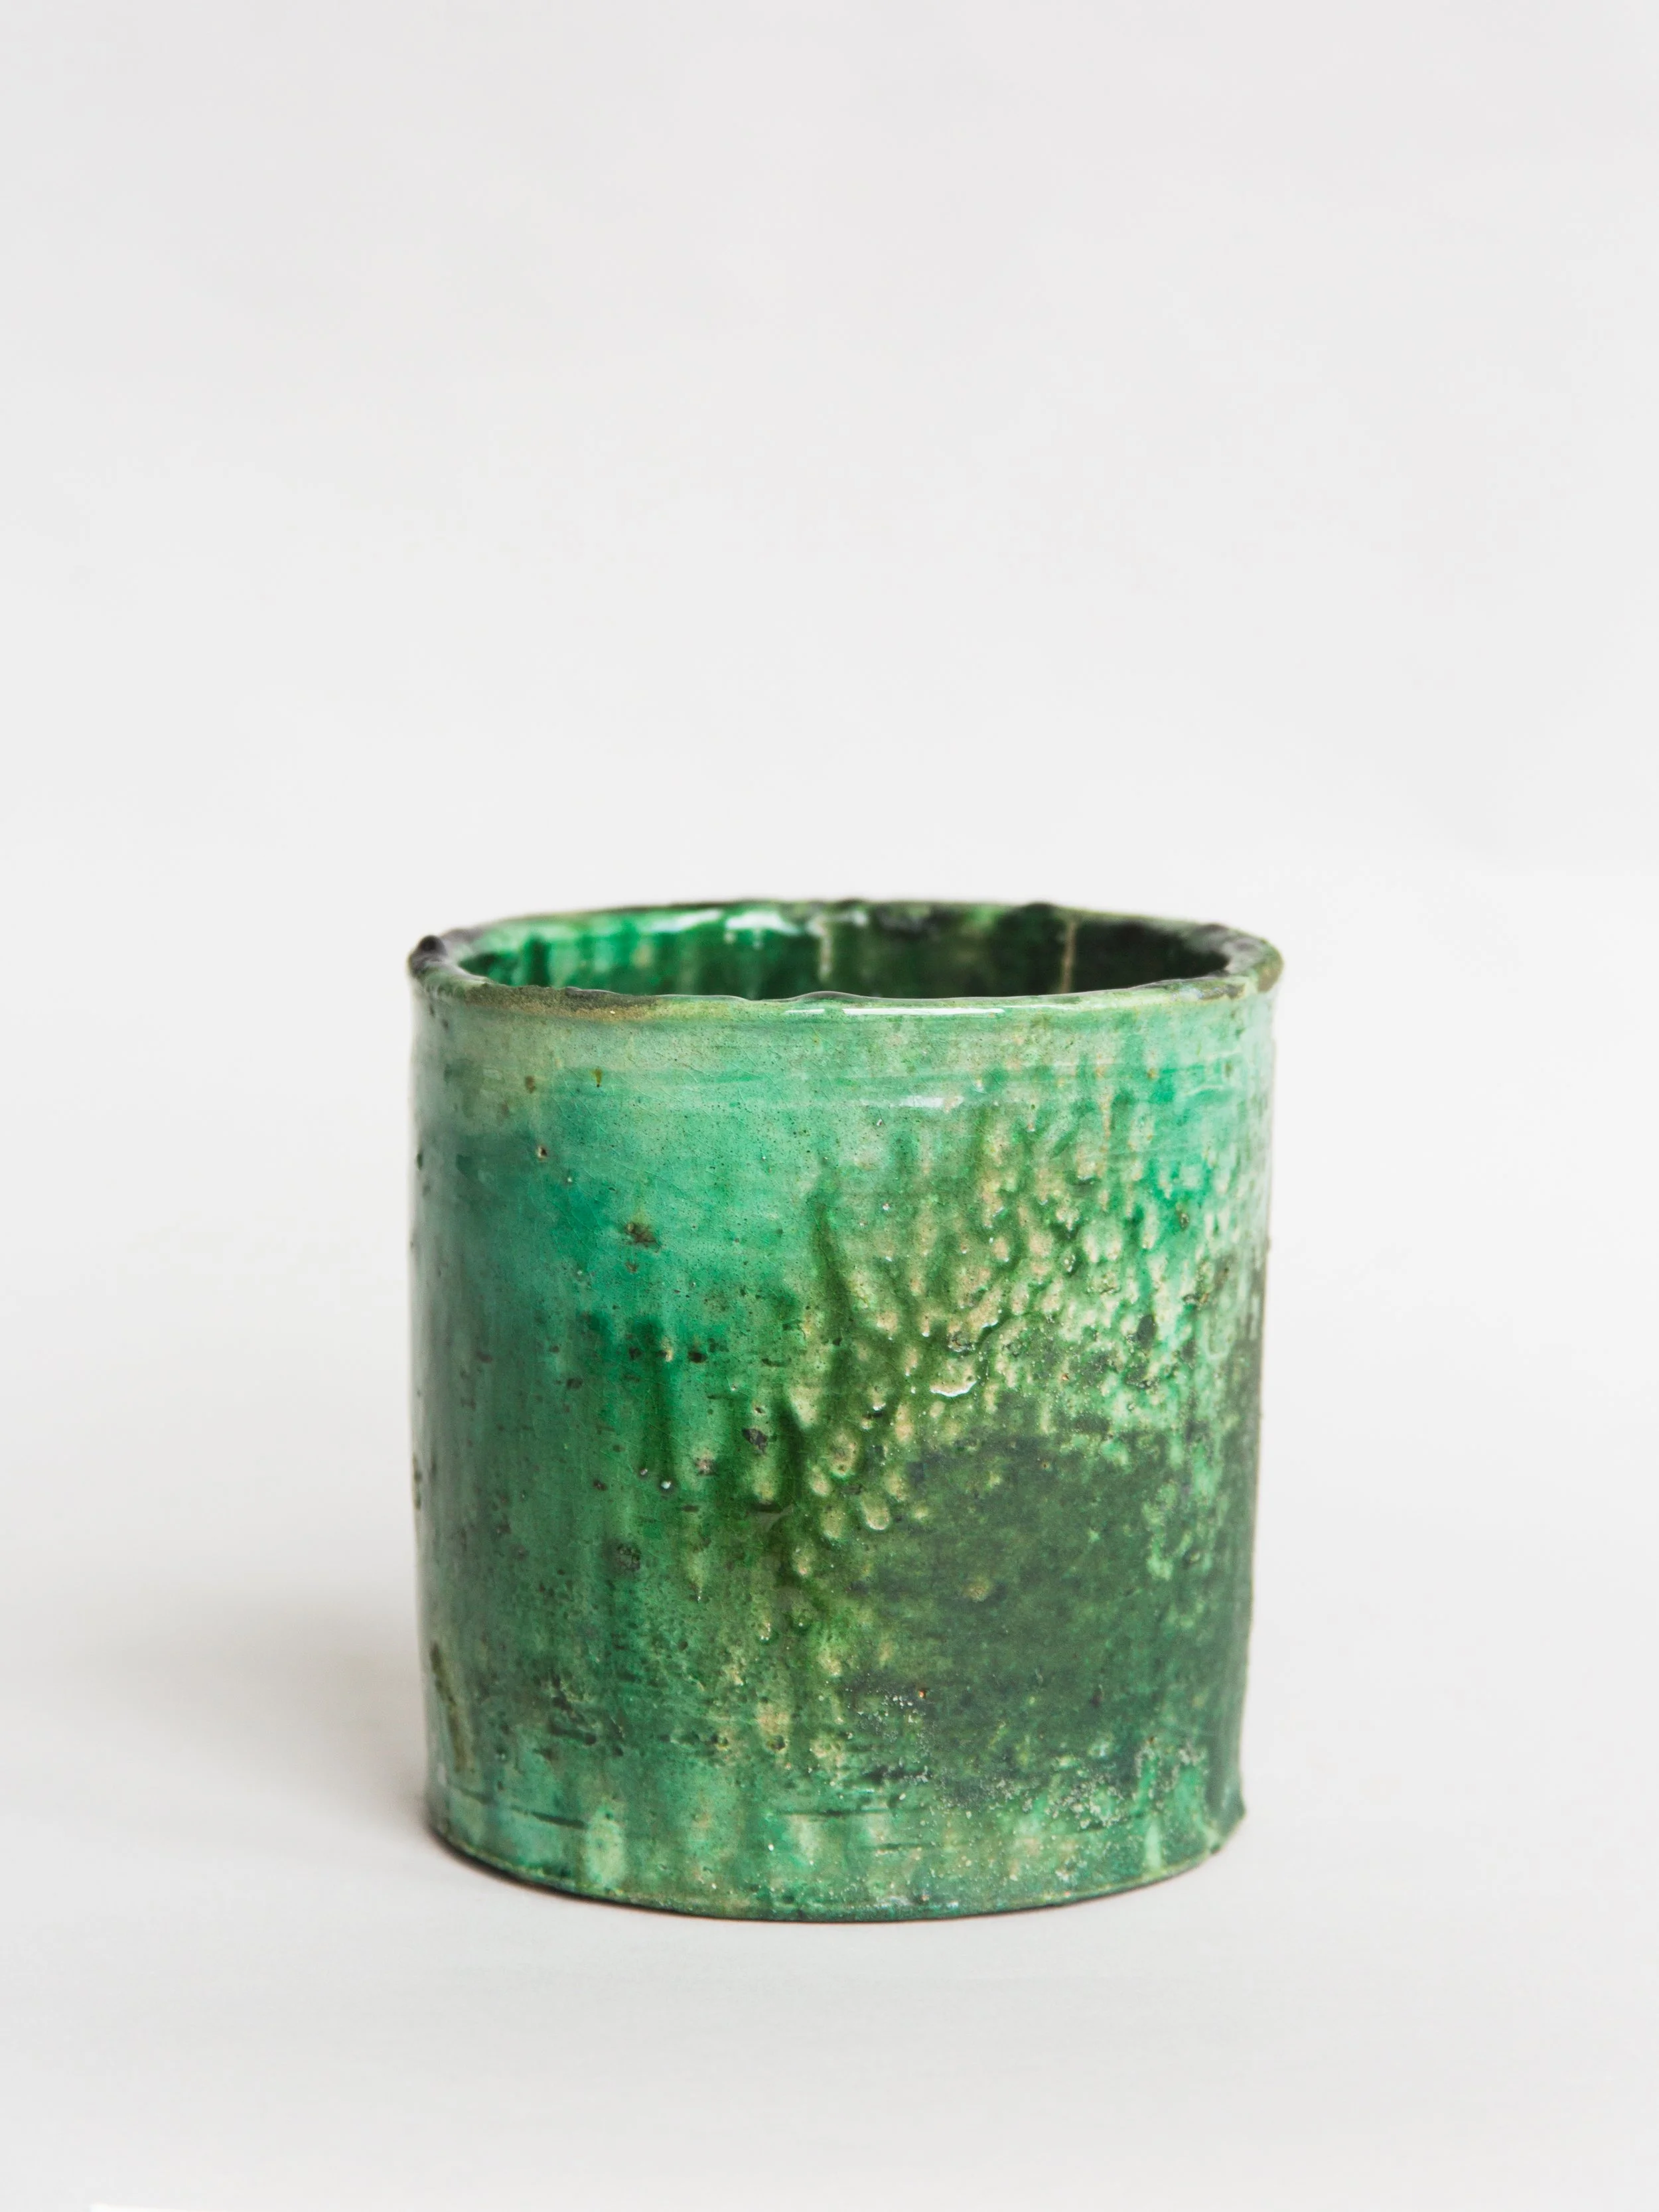
Our Client Putting This Info to Work
Jess with Shop Kaufhaus and Landhaus Round Top has been an amazing Houston product photography subscription client of ours. All of her sessions were exactly the same; she would come to the studio for each session as we would utilize the same lighting and backdrop setup, giving her a big gallery filled with photos of her curated products t the end of her subscription.


Conclusion: Get Ready for Your Best Product Photos Yet
Preparing for a product photography session involves a lot of planning, but the results are well worth the effort. By deciding how many products and photos you need, gathering inspiration, clarifying expectations, and preparing your products for the shoot, you’ll set the stage for a successful session that aligns with your brand’s vision and marketing goals. With thoughtful preparation, you’ll end up with stunning images that can elevate your product presentation and help drive sales.